
My Licentiate journey with the Royal Photographic Society
Lee’s LRPS Panel

It was 2014 when I picked up my very first camera, a Nikon D3300, after deciding that I needed a hobby to enjoy. I’ve always admired photography and after seeing some amazing images from friends and family I thought it was something worthwhile having a go at.
With my camera in tow, I set off on my very first photographic journey with a road trip across the country visiting many places for the first time including York, Edinburgh, Inverness, the Isle of Skye, the Lake District and Chester. Spending one or two days in each location, seeing everything with a new eye, truly began my photographic journey.
In 2017, after several years of being self-taught through books, YouTube and just messing about with my camera, I decided to join the Ampthill & District Camera Club which has allowed me to learn, discuss and compete in photographic competitions which I had never been done before. In fact, my second week at the club was a print competition and I received some of my very first feedback which I keep with me to this day.
The club is also where I first heard about the Royal Photographic Society. A couple of members were already LRPS and many of our visiting judges also had this title or the higher levels of ARPS or FRPS. We had speakers and discussions on this subject matter, and I thought early on that this would be something I would like to achieve some day.
Since then, I have continually worked to improve my photographic portfolio, spending many hours watching videos, trying new techniques, and sitting in front of Photoshop honing my craft until I thought I could potentially apply for, and achieve, my LRPS distinction.
To achieve this distinction, the photographer must put together a panel of 10 images, either digitally or in print form, which must demonstrate a variety of approach and techniques. Each image must be of a good standard and the overall panel should also work as a whole to create an “11th image”.
I sent my application off in January 2022, selecting a date of 15th June 2022 for my assessment, believing this to give me enough time to plan out and decide on my panel, as well as take some new images which I may feel fit better within as part of it, than those in my back catalogue.
But time flies, and at the end of March, after taking some new images in Scotland as well as around the city of London, I was at the point where I needed to decide. I was hoping to book in a 1-2-1 session with an advisor with the RPS but their booking systems were having issues and they had a backlog, so I took a bit of a risk and opted not to go through with this, so instead, I researched.
The RPS website has lots of helpful information, including successful panels, requirement guidelines, advisory days and an official Facebook group where many members discuss and show off both their successful and unsuccessful panels. All this information is there to help you succeed.
The next step in creating my panel was to establish a ‘shortlist’ of images. I went through my back catalogue of images, choosing those that I liked, and those that did well in club competitions. I ended up with around 50 which I printed out to help me visualize what my panel could be. Armed with these and the floor I placed my images in and out, coming up with any ideas that worked and discarding any images which I could not fit in. It’s brutal but this is a head over heart task when making these decisions.
It’s important to remember that images should not stand out from the rest, the overall look is just as vital as the quality of each individual image. You also need to think about the placement of the images within the panel, a subject looking straight into camera would only work in the central point whereas those with leading lines should bring the eye of the viewer into the panel and not out of it. Try to link images to another, either by placing them close together or by having them on opposite sides working together.
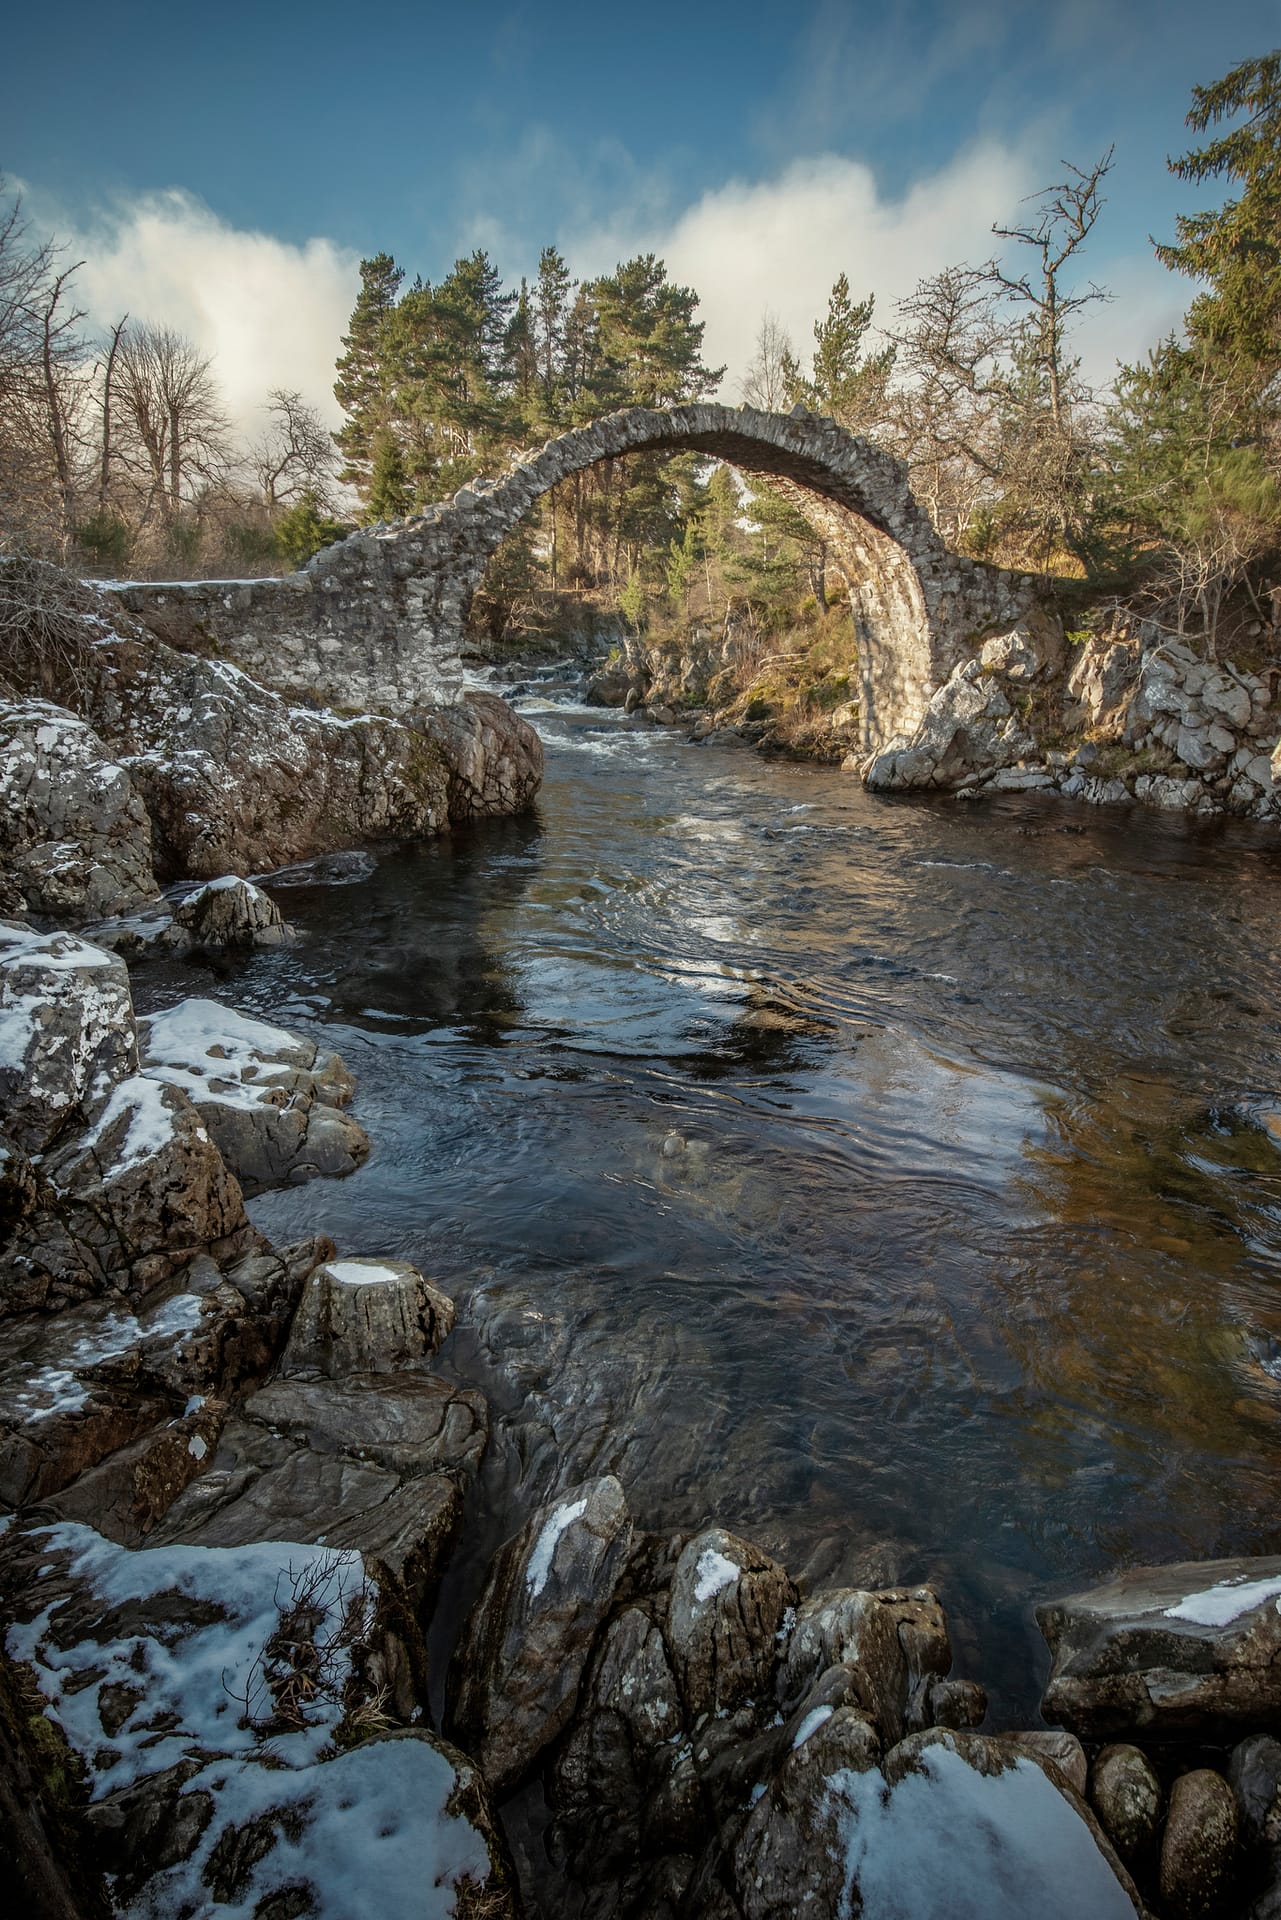
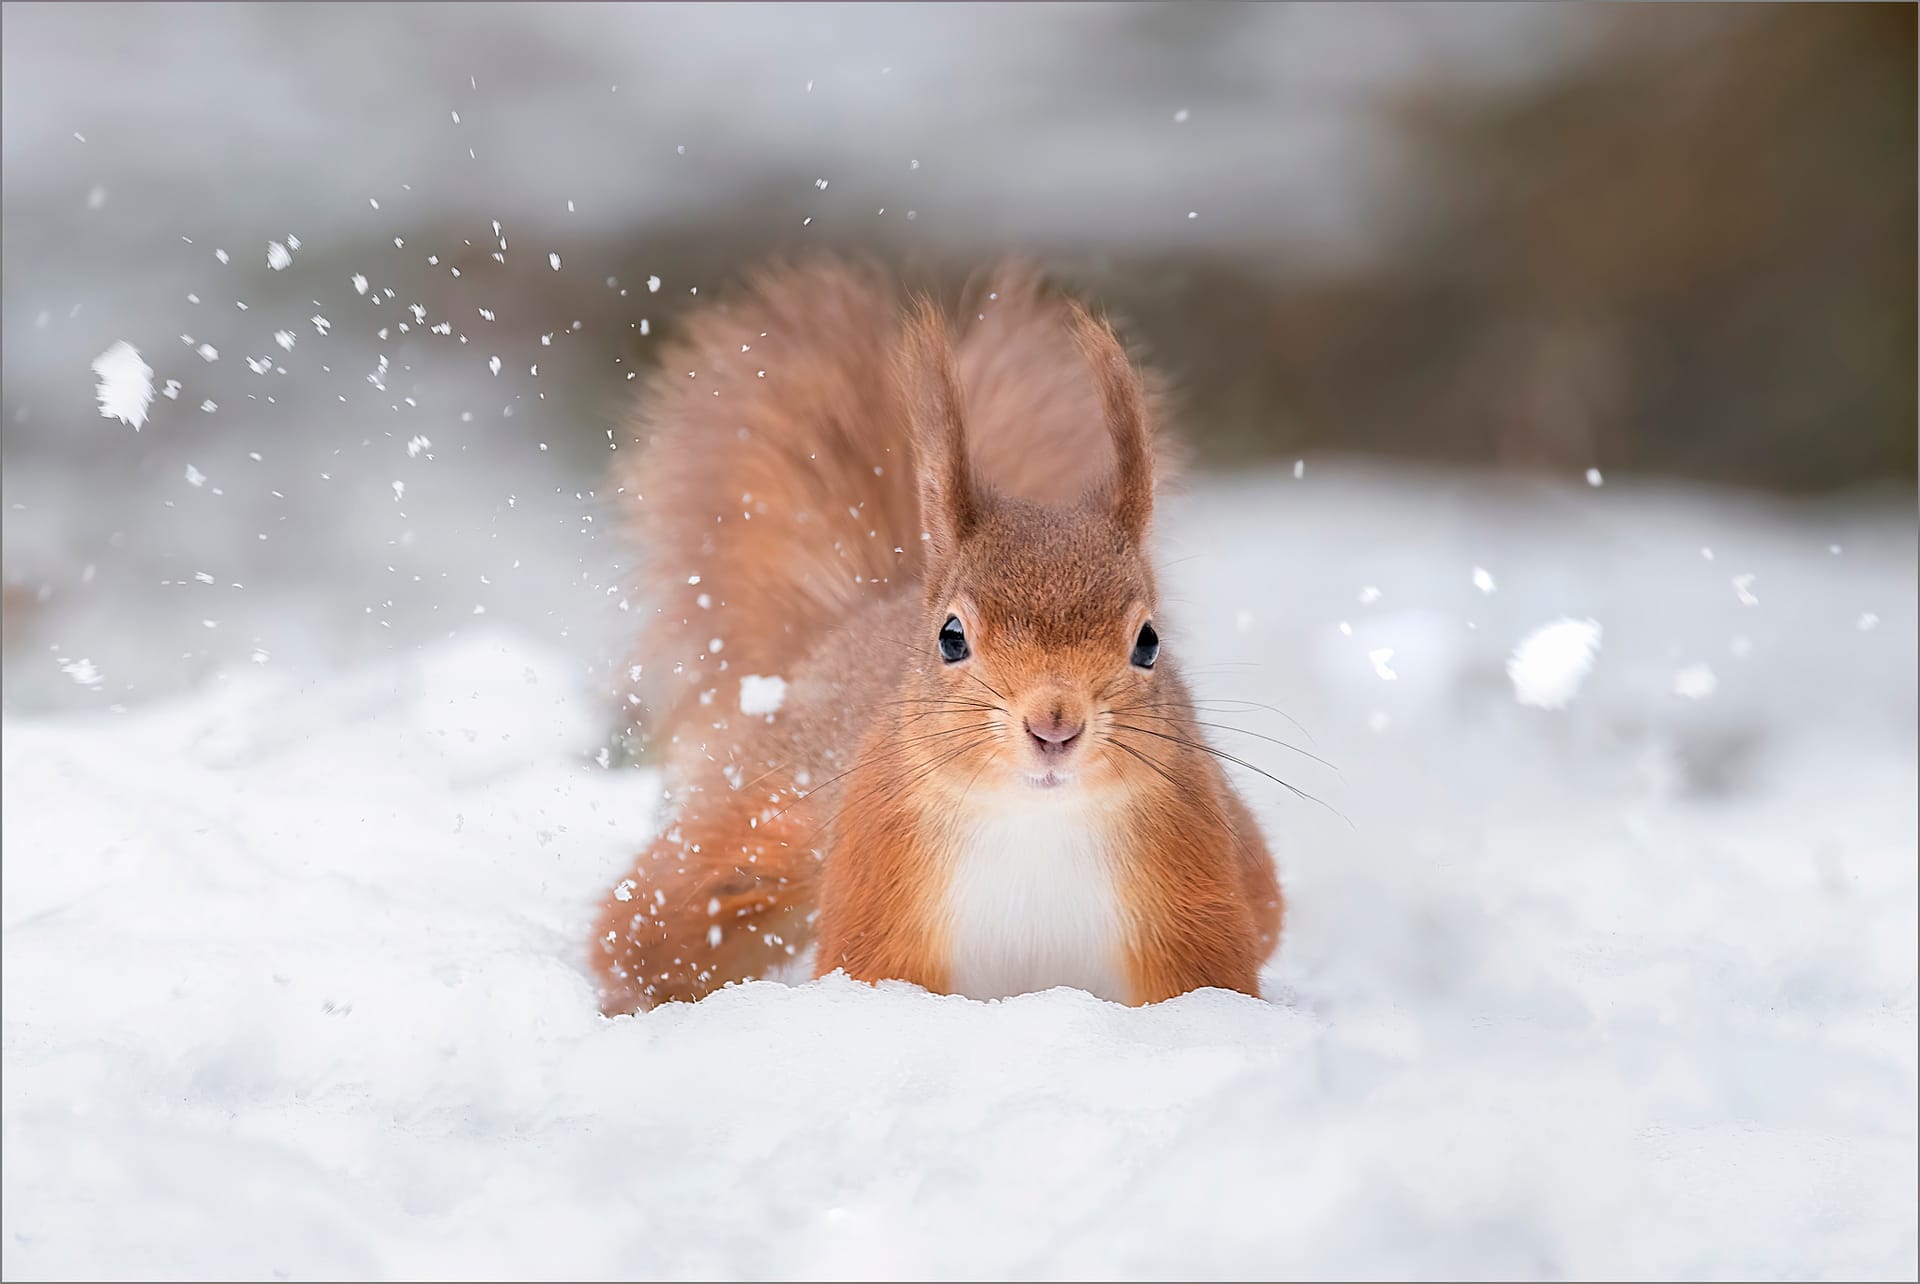
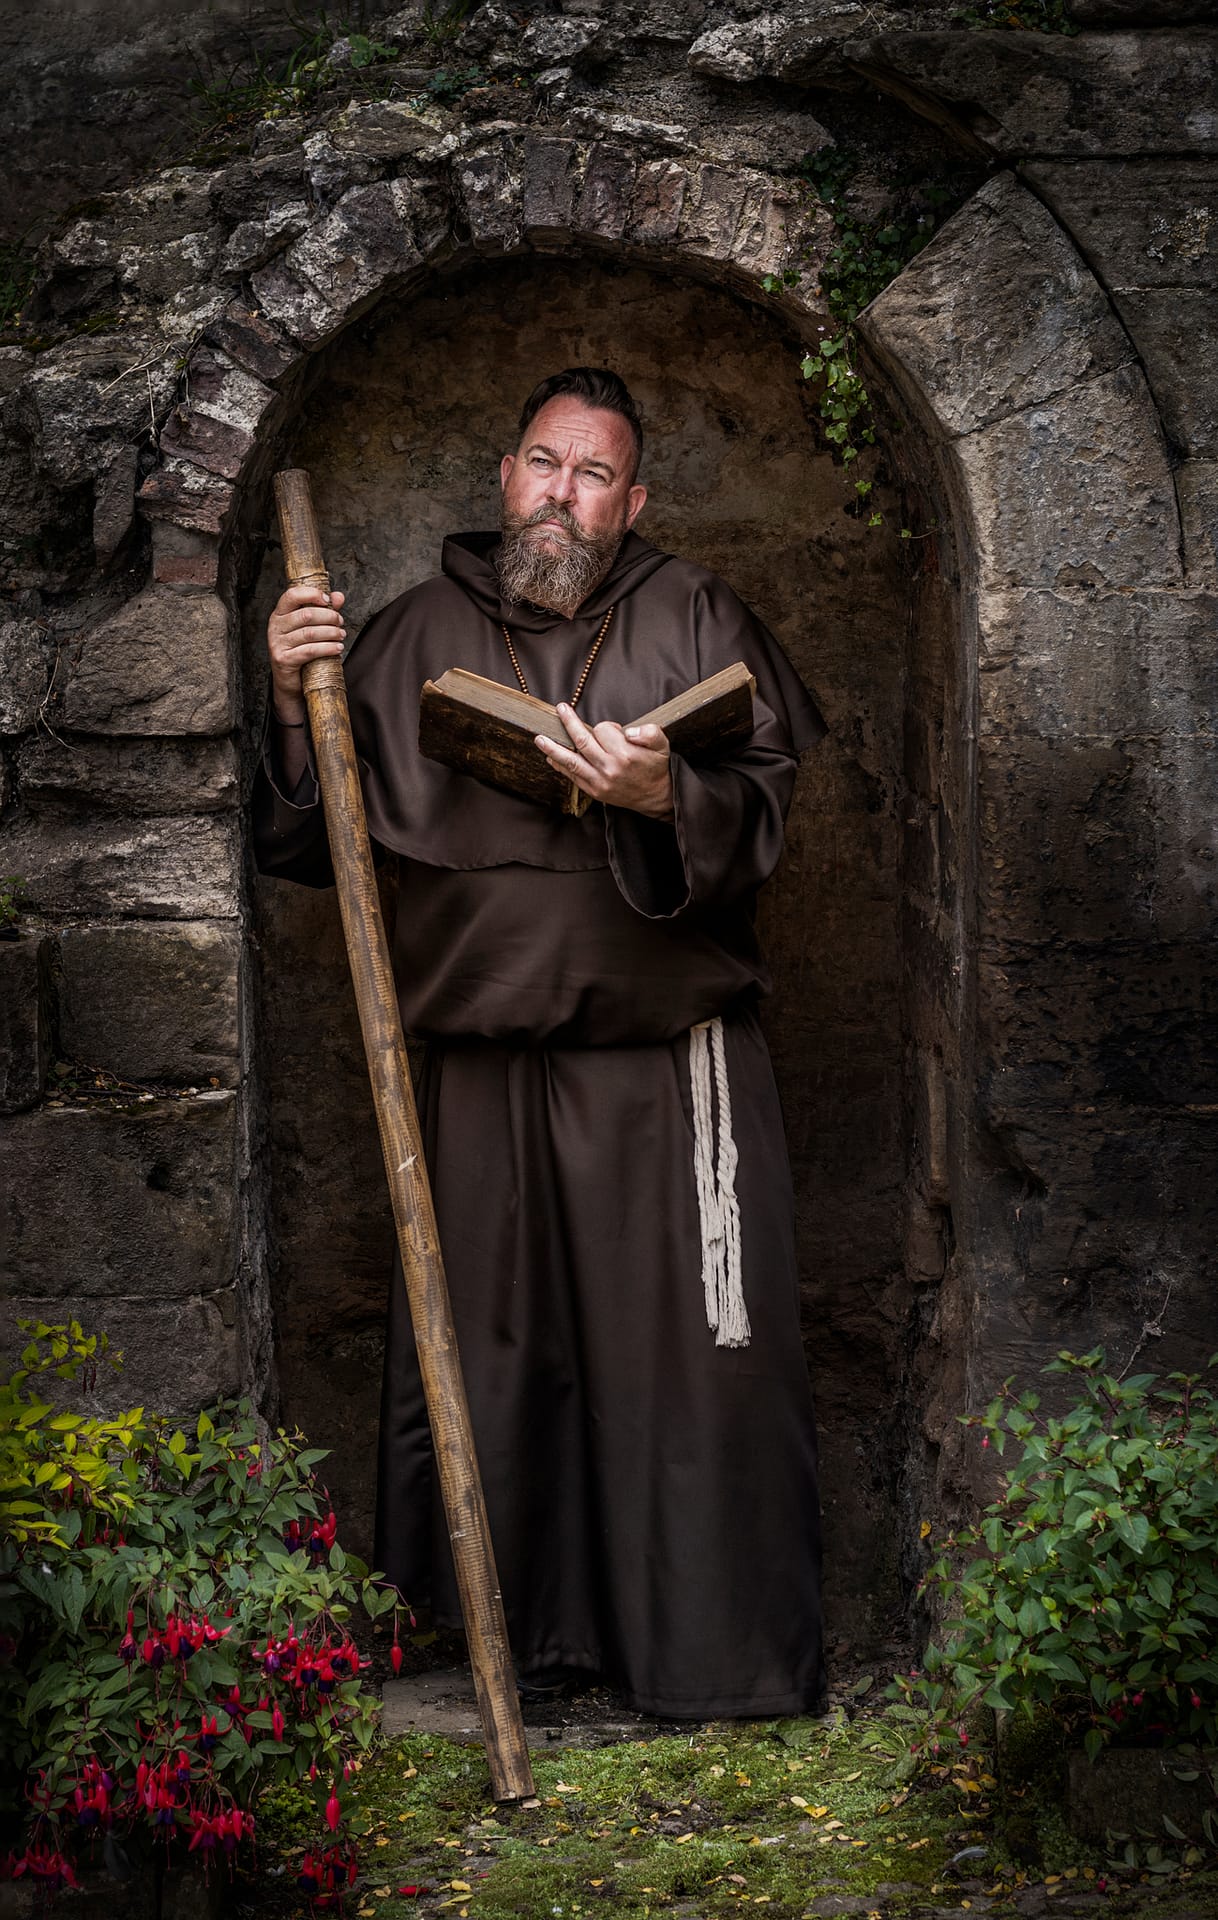
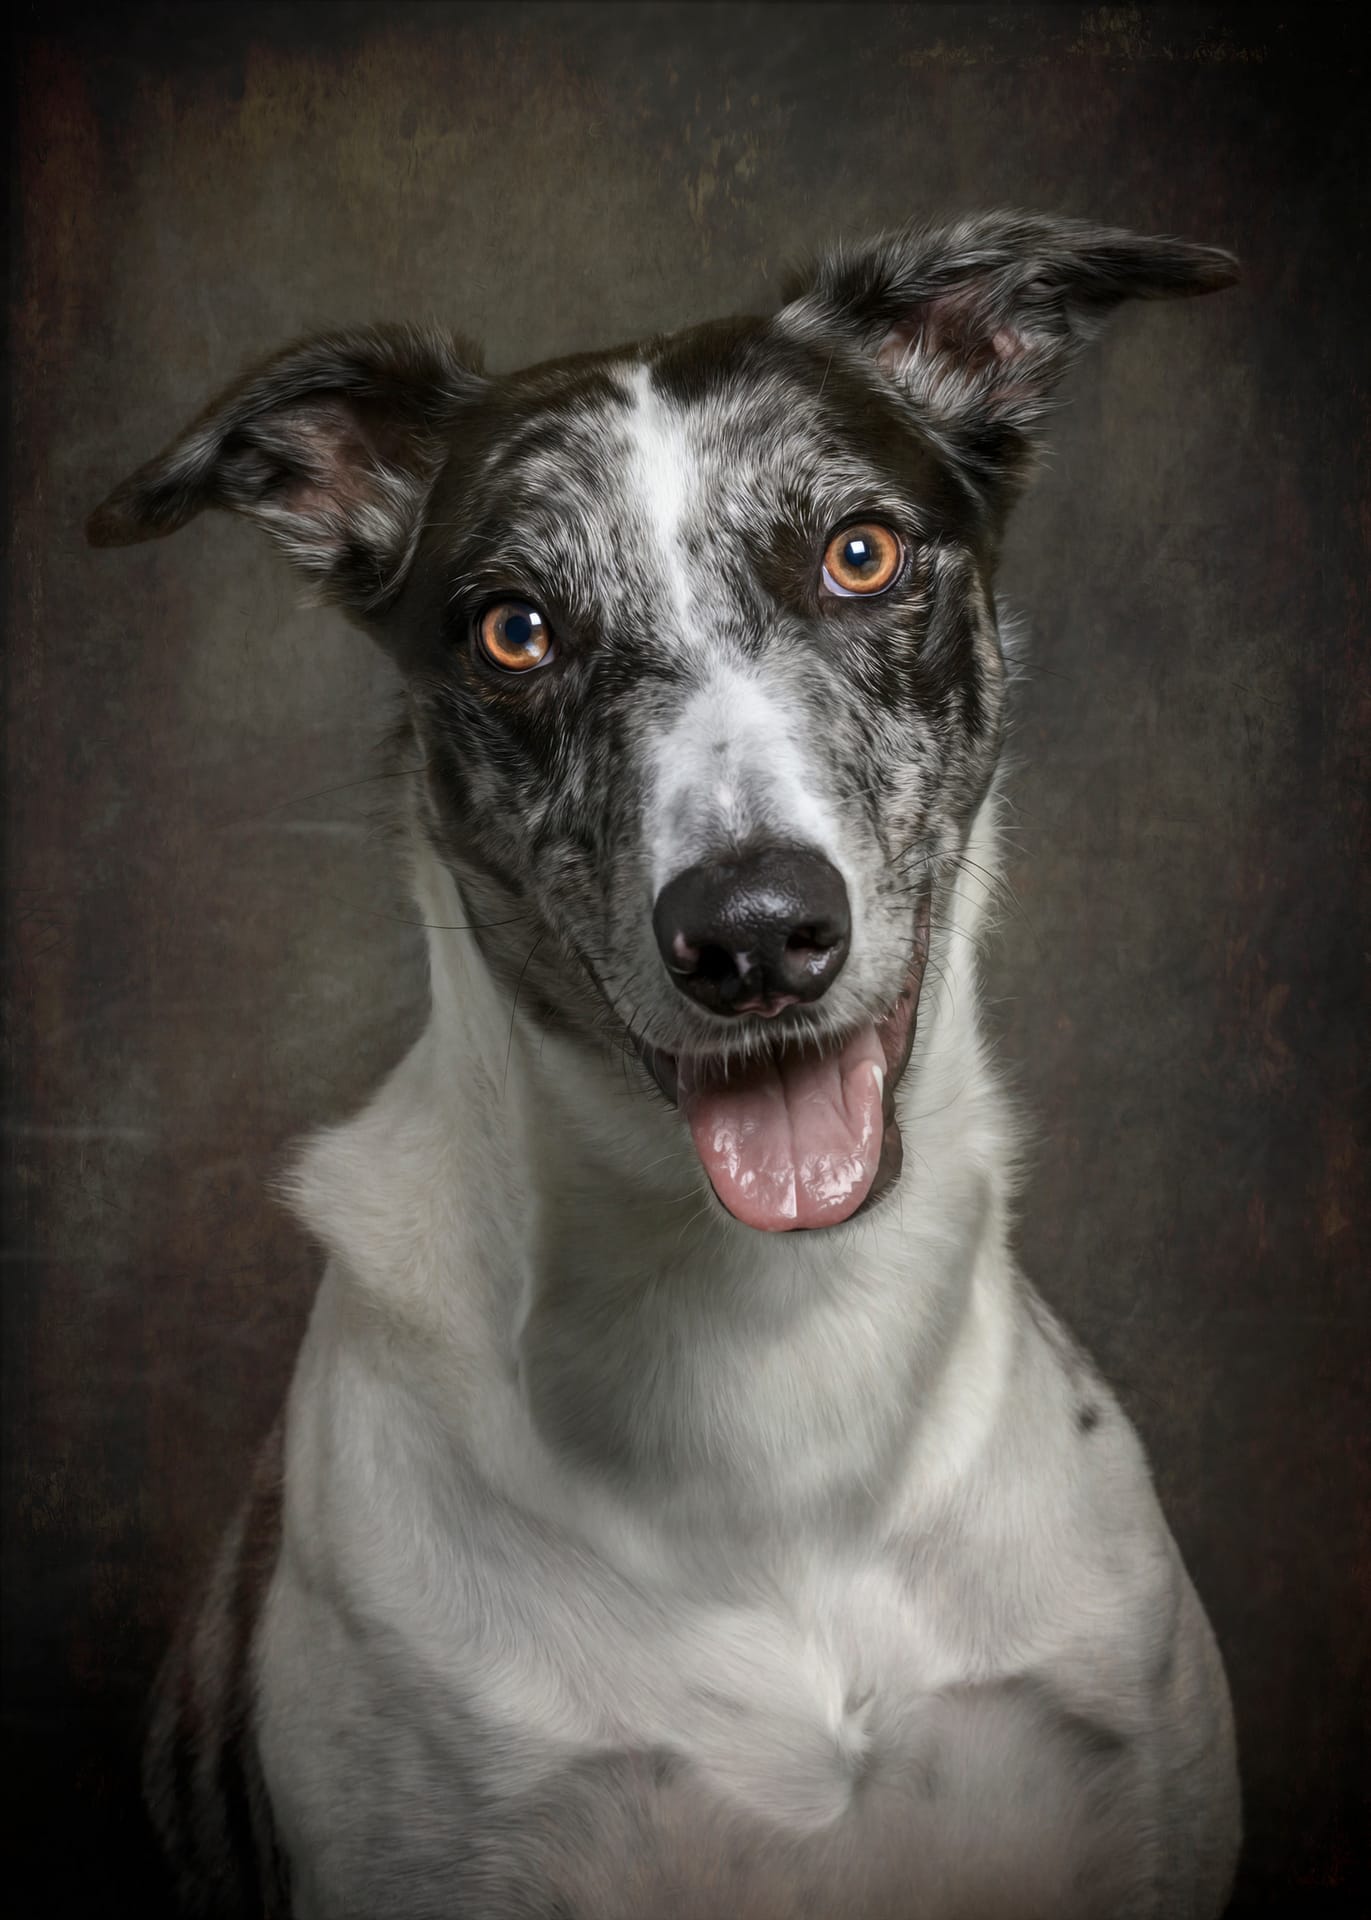
Quite quickly I selected three ‘cold’ images that I wanted to use and another three images which were portrait orientation. These images formed the center of my panel in two triangles in their placement, leaving me with four corners to select.
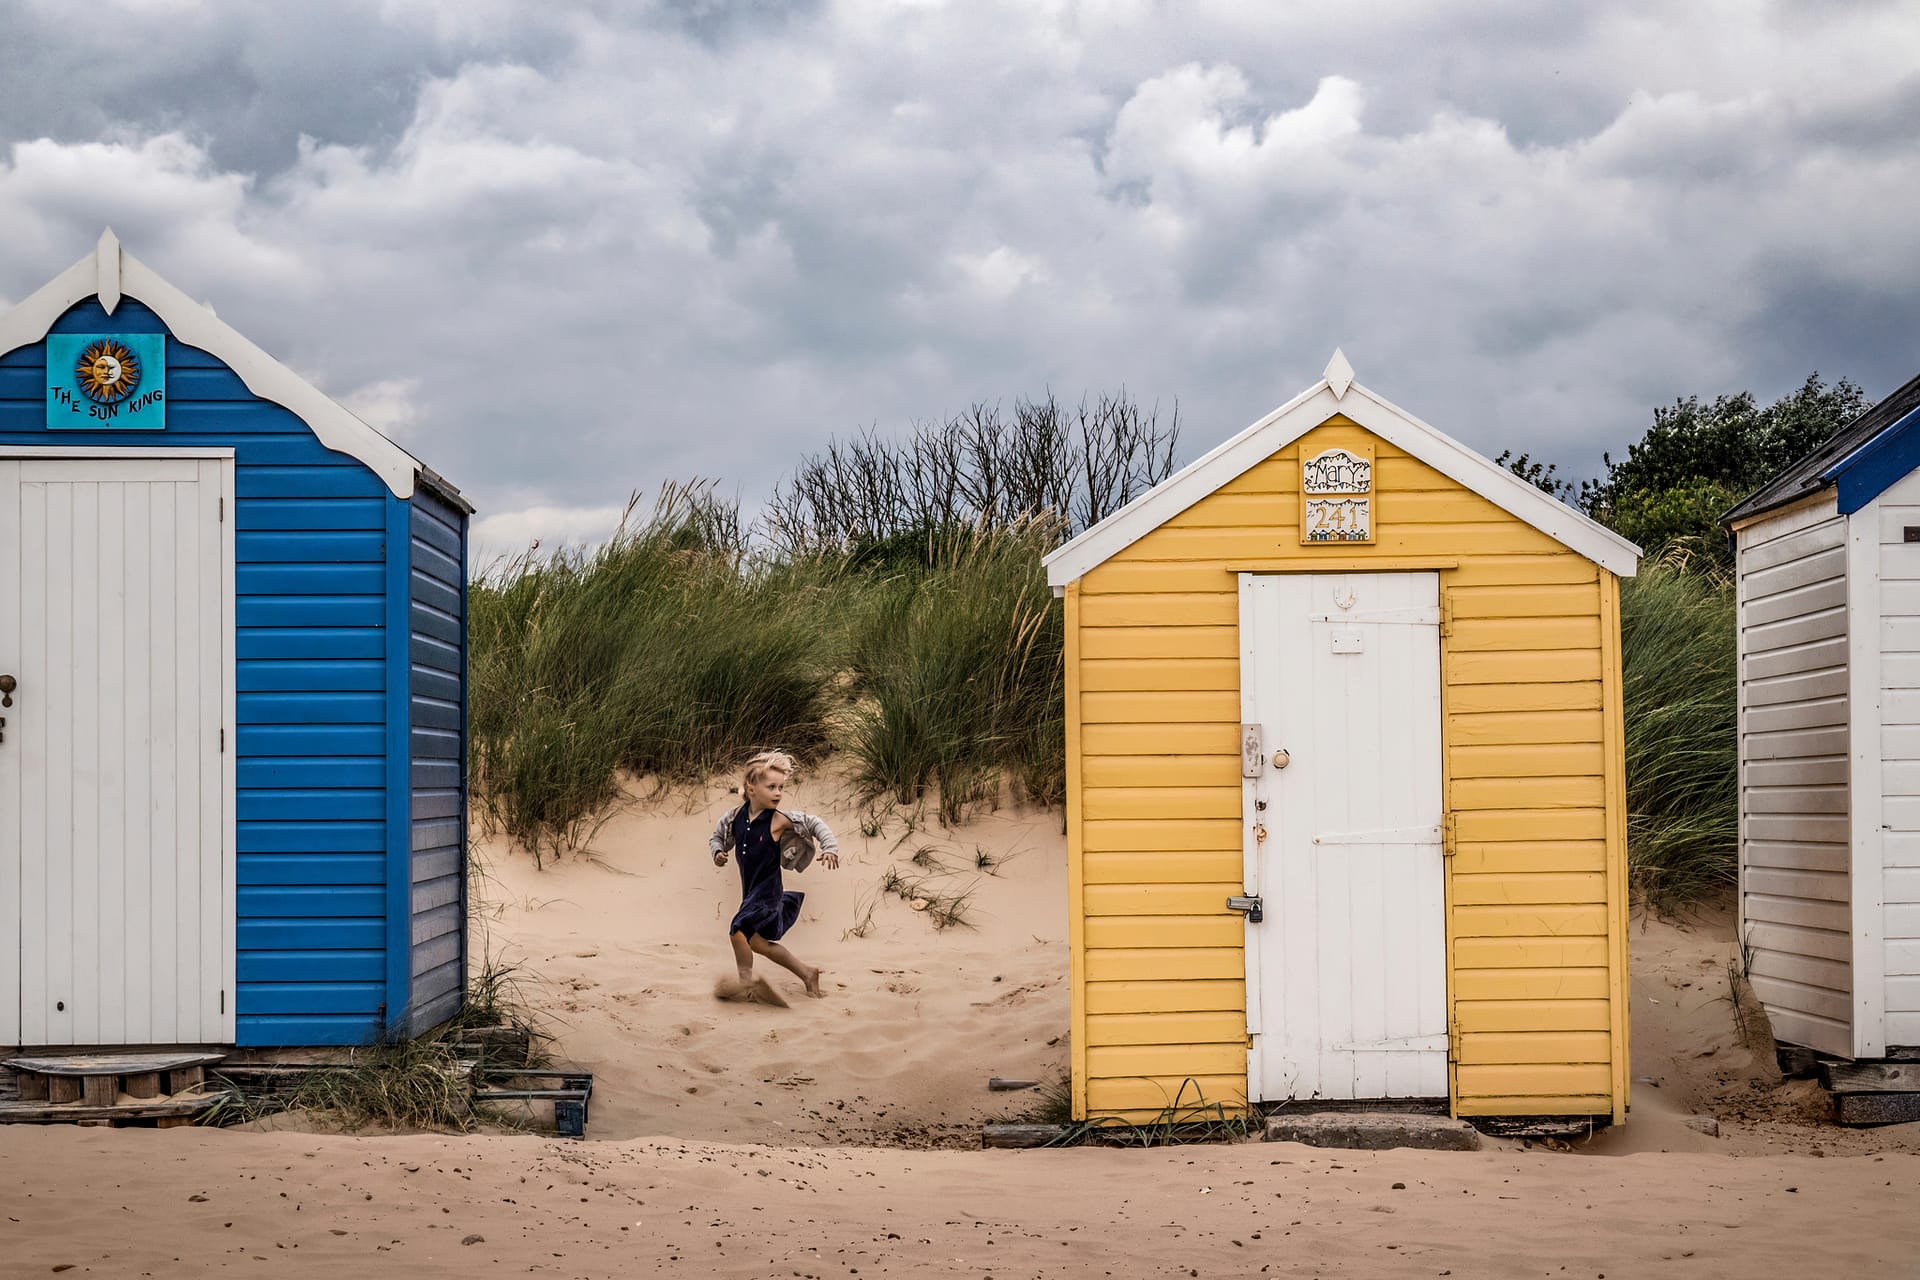
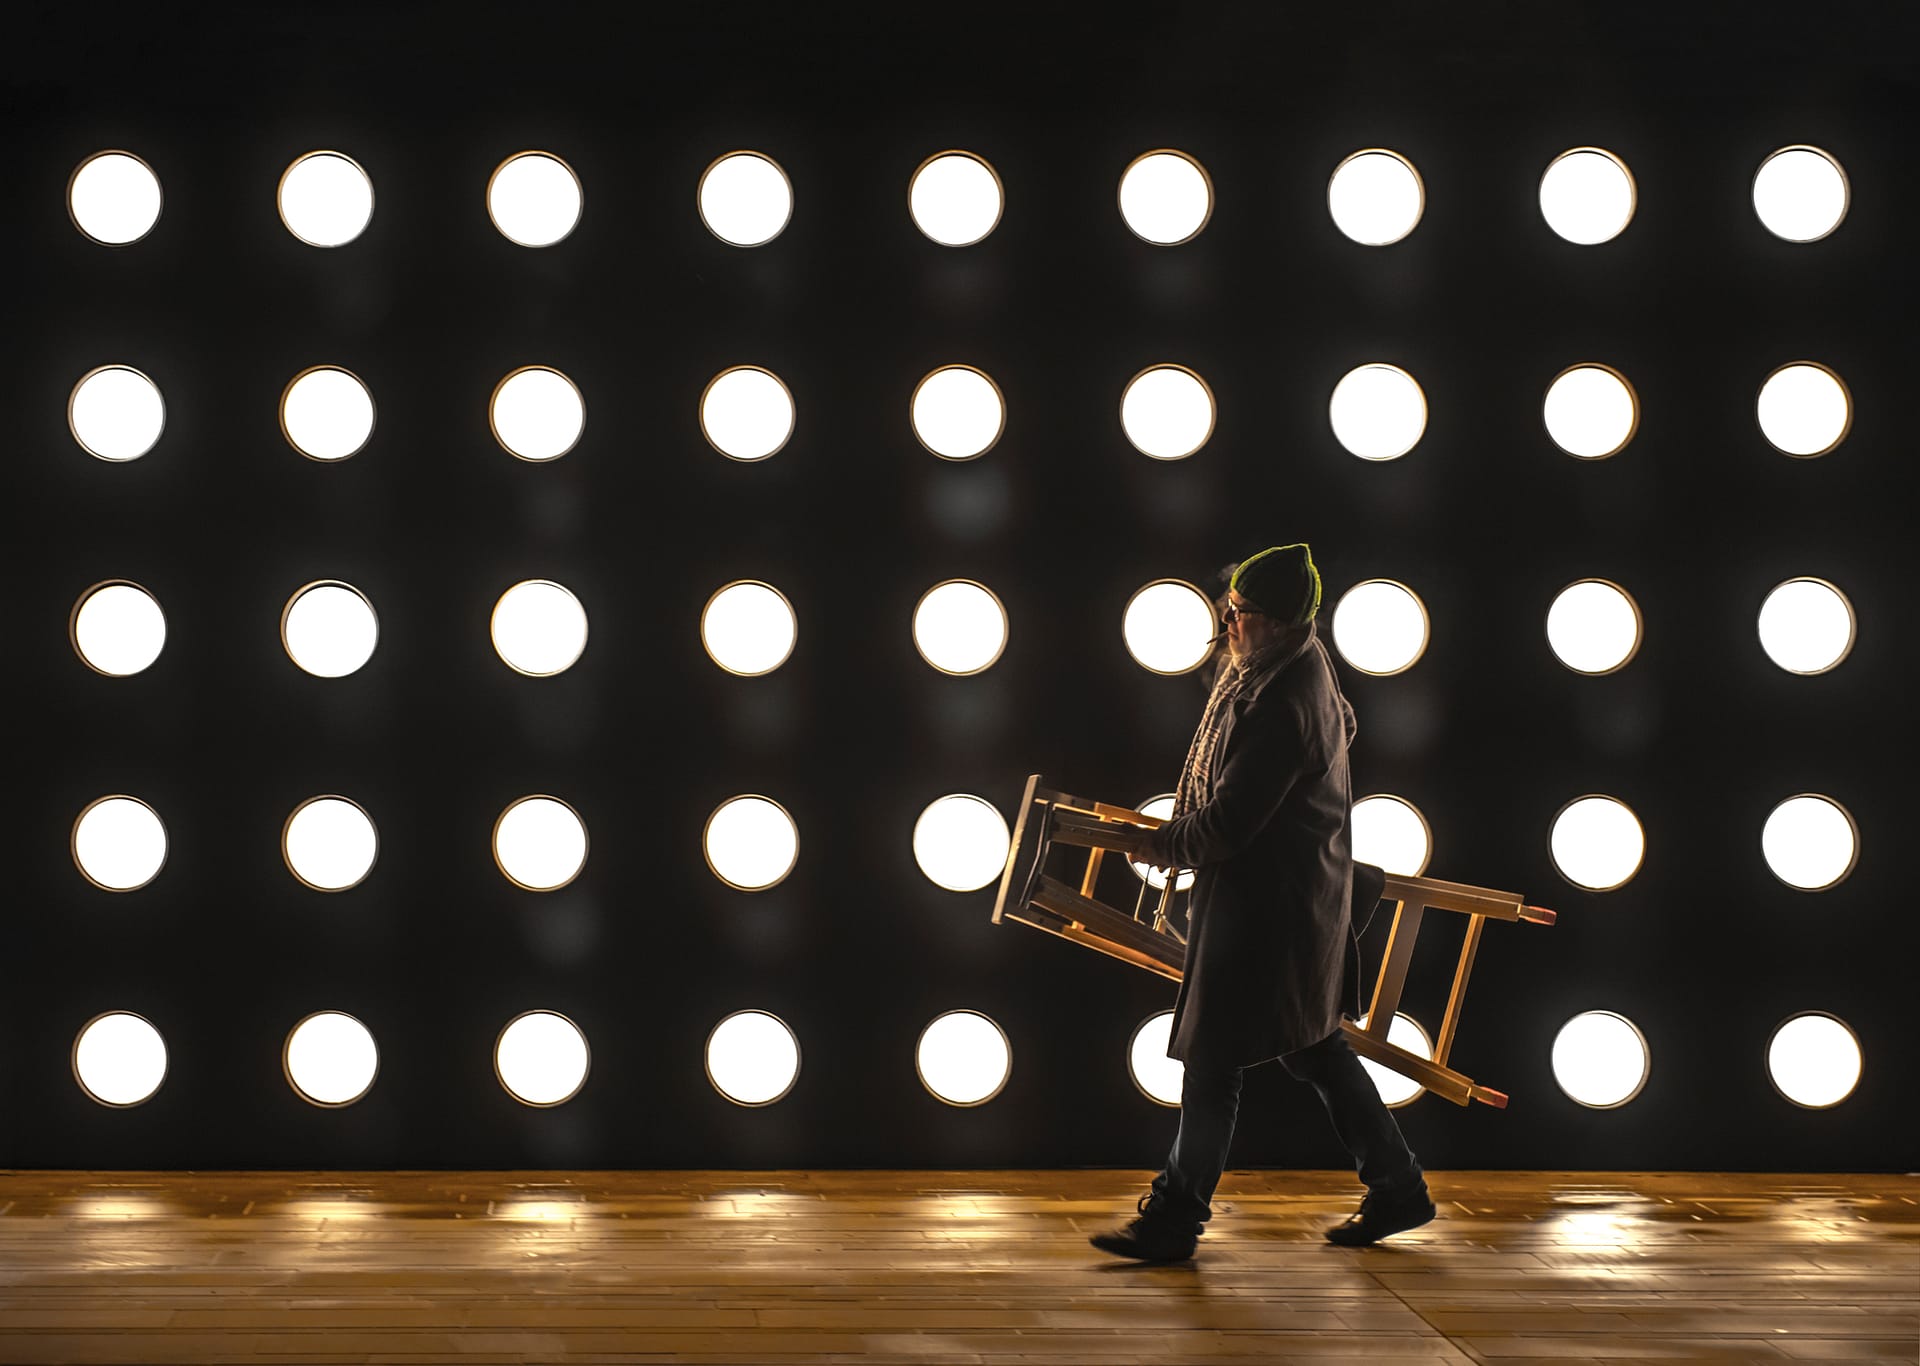
I had two ‘street’ images which had done well in competitions where a young girl was looking back into the frame, and another where a gentleman was walking across. I flipped my image of the gentleman so he would be walking right to left, and these then worked as my top corners.
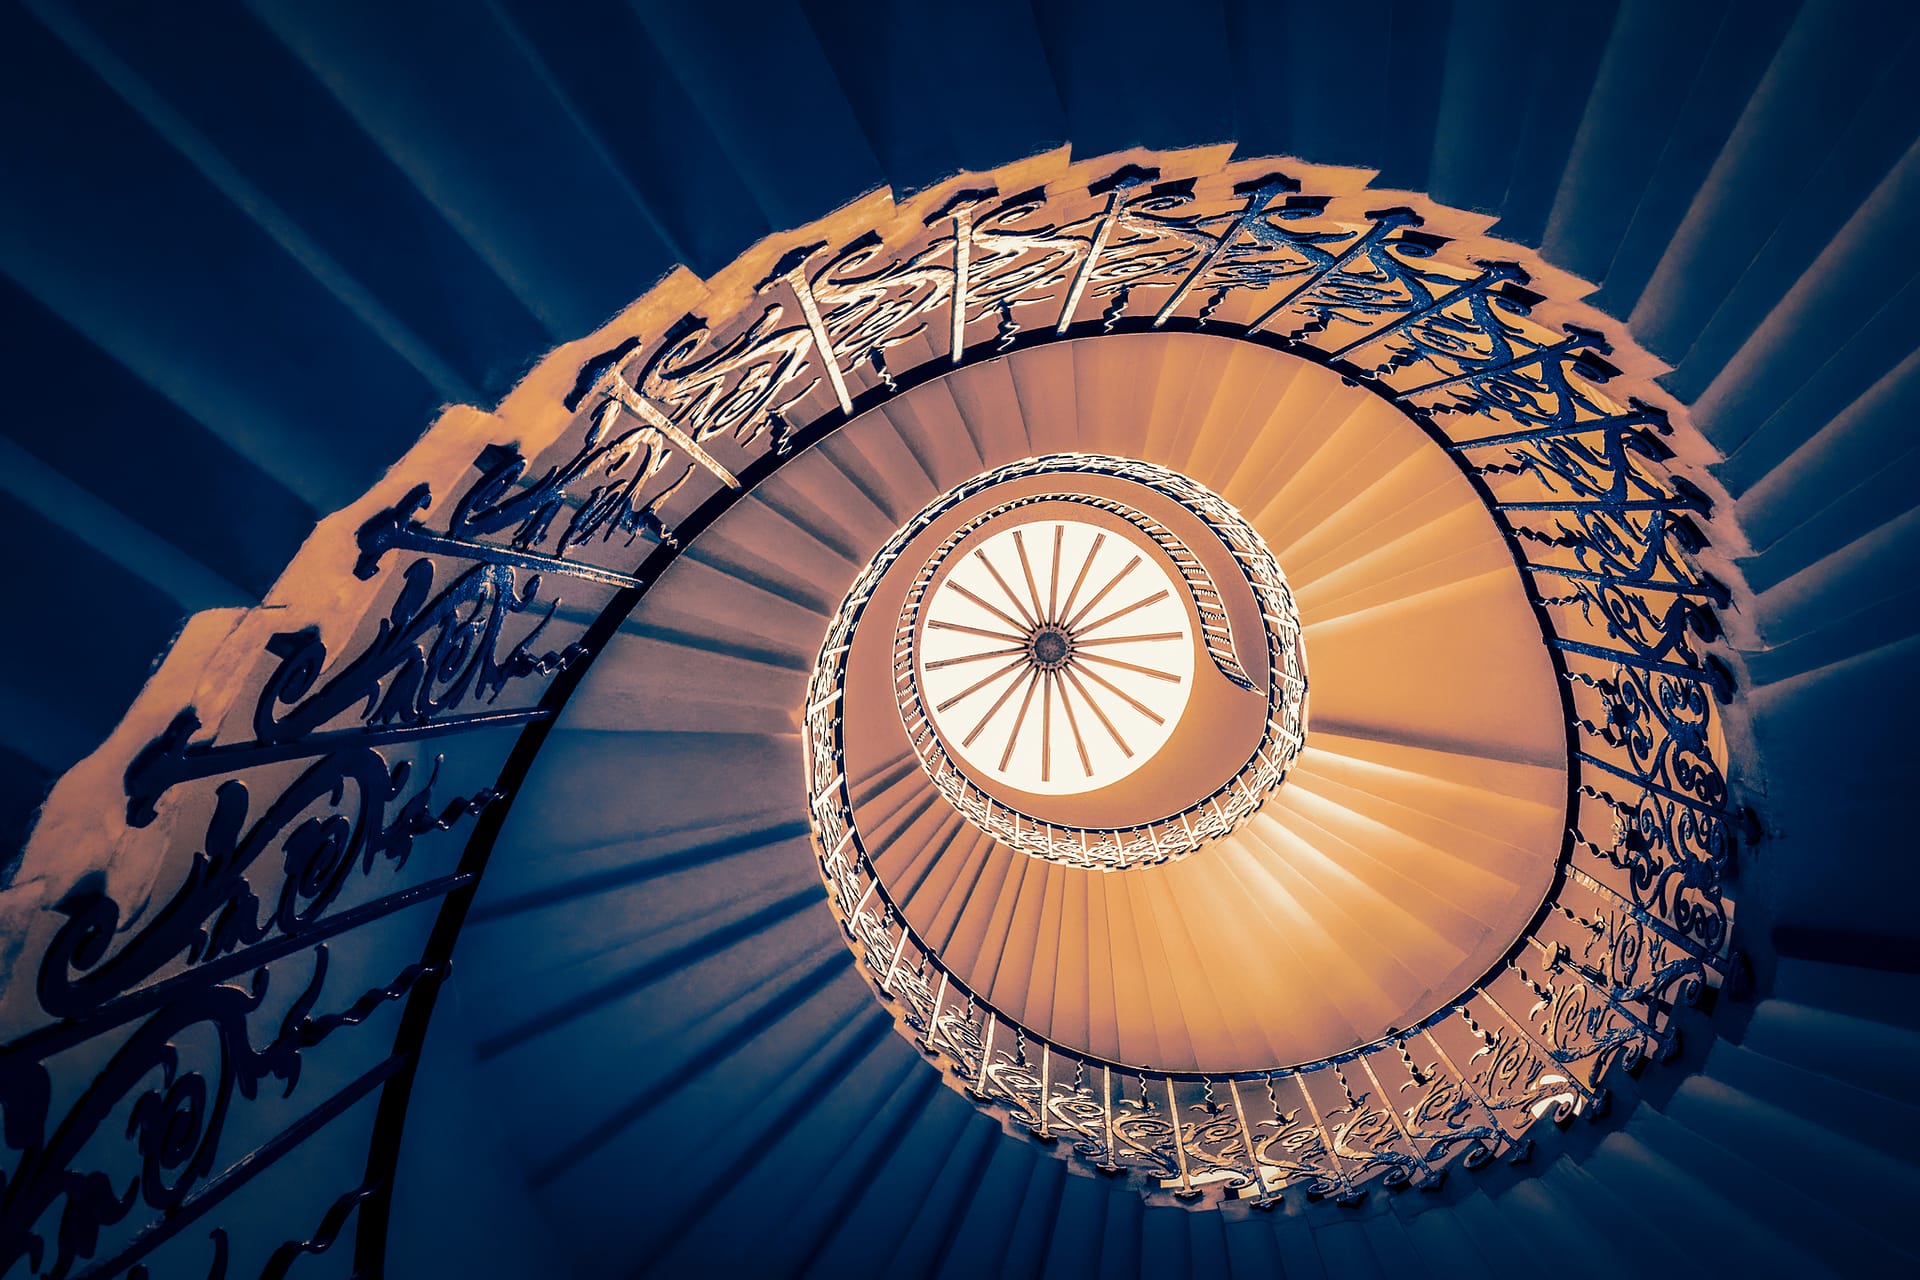
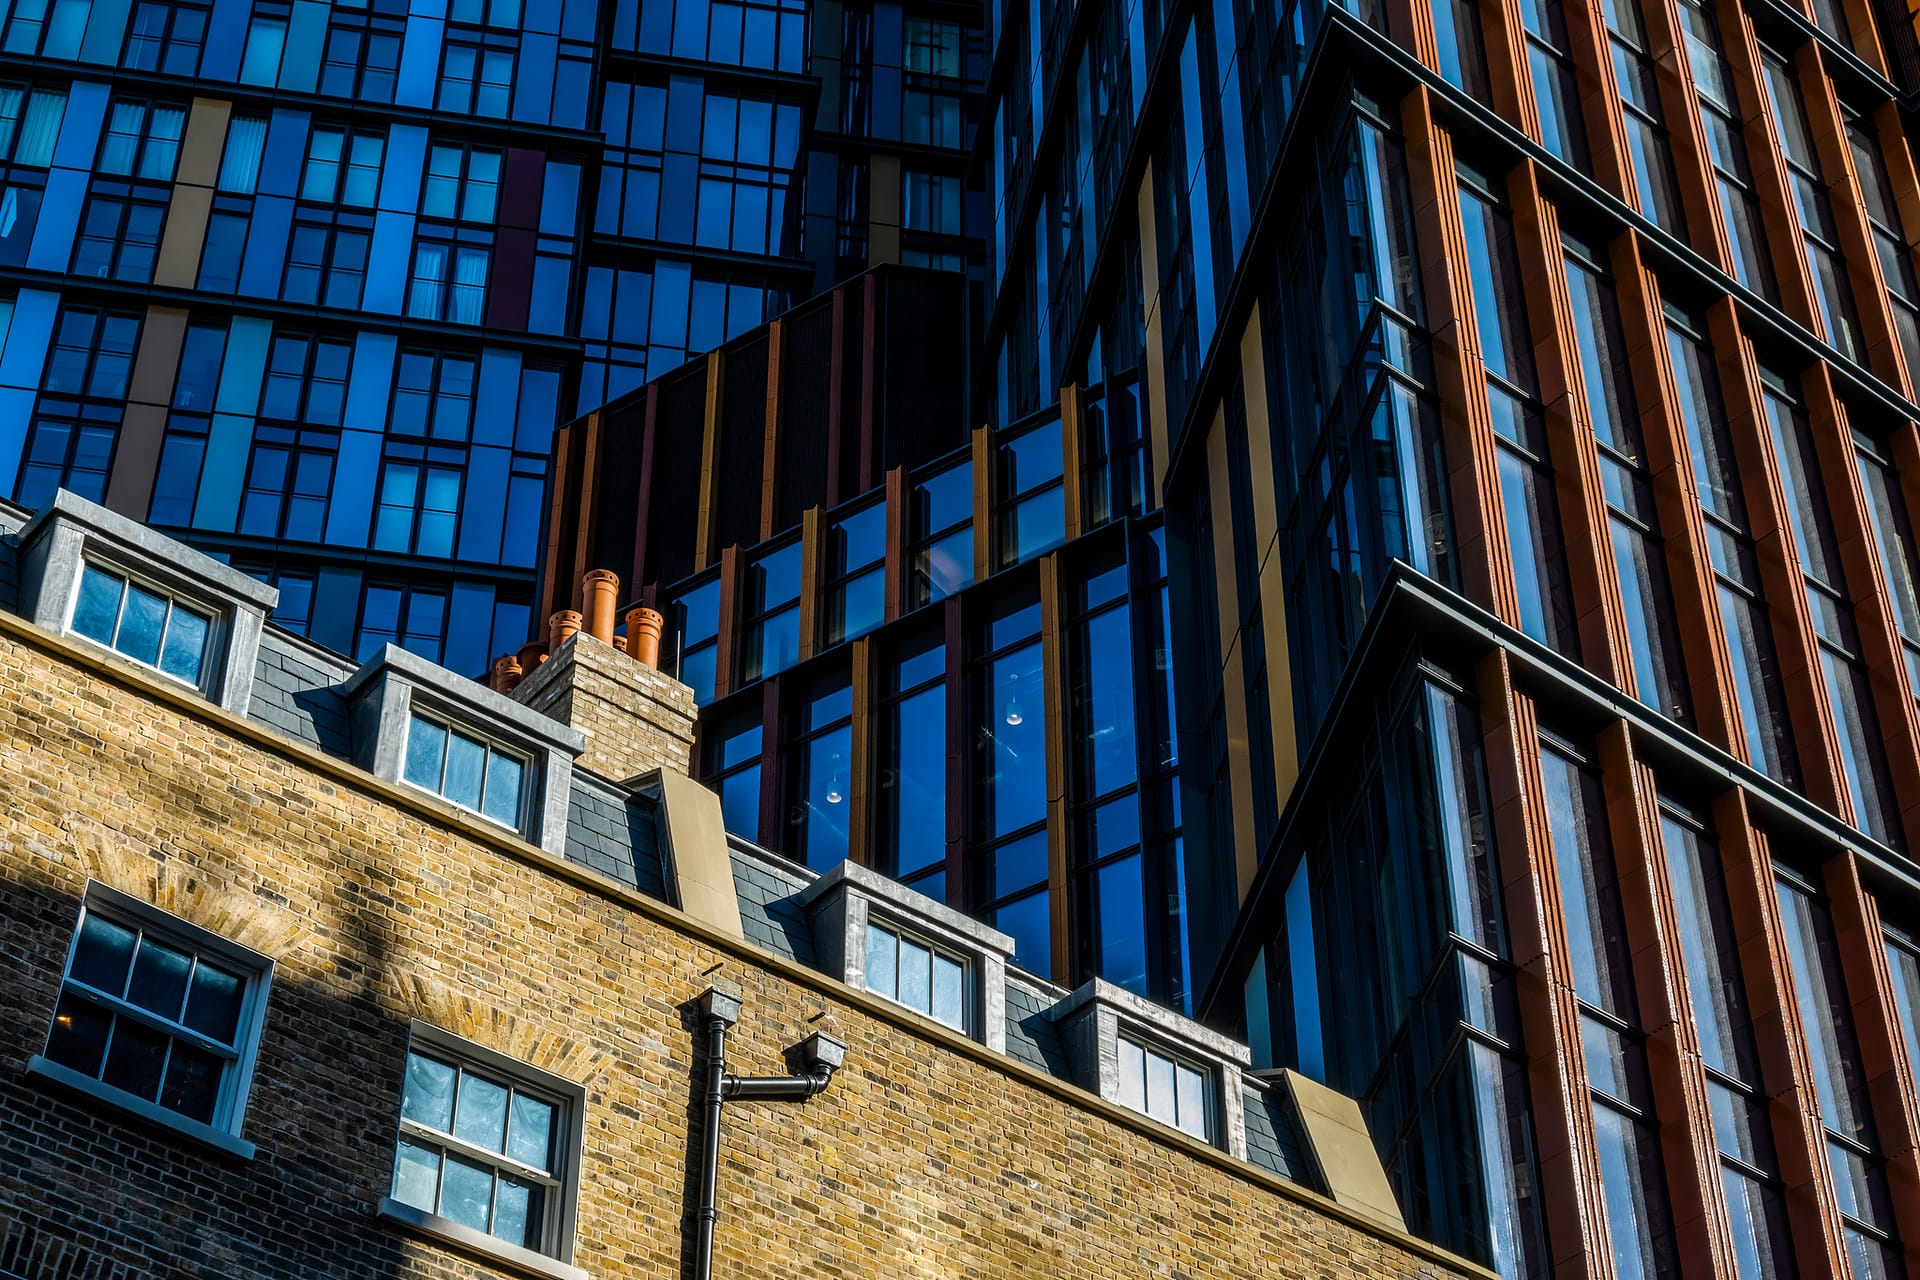
For the bottom corners, this took a little more time to decide. I wanted something different for the rest of the panel and on my most recent trip to London I had an image of an old building contrasting with modern one. It was very graphic in its design and would stop the eye from going any further. It was also quite a colourful image compared to the muted palette used within the rest of the images, so the opposite image needed to be something similar. On this same trip I visited the tulip staircase, located in the Queen’s House in Greenwich and I was able to bring out some of the colours present more vibrantly and this resulted in the blue and orange graphic spiral that was perfect as my last panel image.
Given everything I knew about what the RPS was looking for, I was happy with my panel.
The final stage before assessment is the preparation of the prints. During one of our clubs talks we had been told that the judges would closely inspect each of the prints and to not print too large as any errors would be much more visible. I chose to make all my images fit in an A4 frame and bought pre-cut mount board to this effect saving a large amount of time, rather than cutting them myself. Fortunately, I am also able to print at home and each picture was printed on Pinnacle A3 Lustre paper which gives a nice finish without being overly glossy. This also allowed me to inspect my prints quickly and make any adjustments before mounting. If you are sending off your images for print, then give yourself plenty of time just in case anything is wrong.
My images were then mounted in their frames and backing board added before being posted off to the RPS with nothing more that can be done.
On the day of the assessment, I was able to watch this via ZOOM, but you can attend in person if you are able. We were introduced to the judges and advised that they would all look at the prints and then individually make comment before voting green or red. At the end of the vote, you are immediately informed if you have been successful or not and the entire process takes around 15 minutes per person.
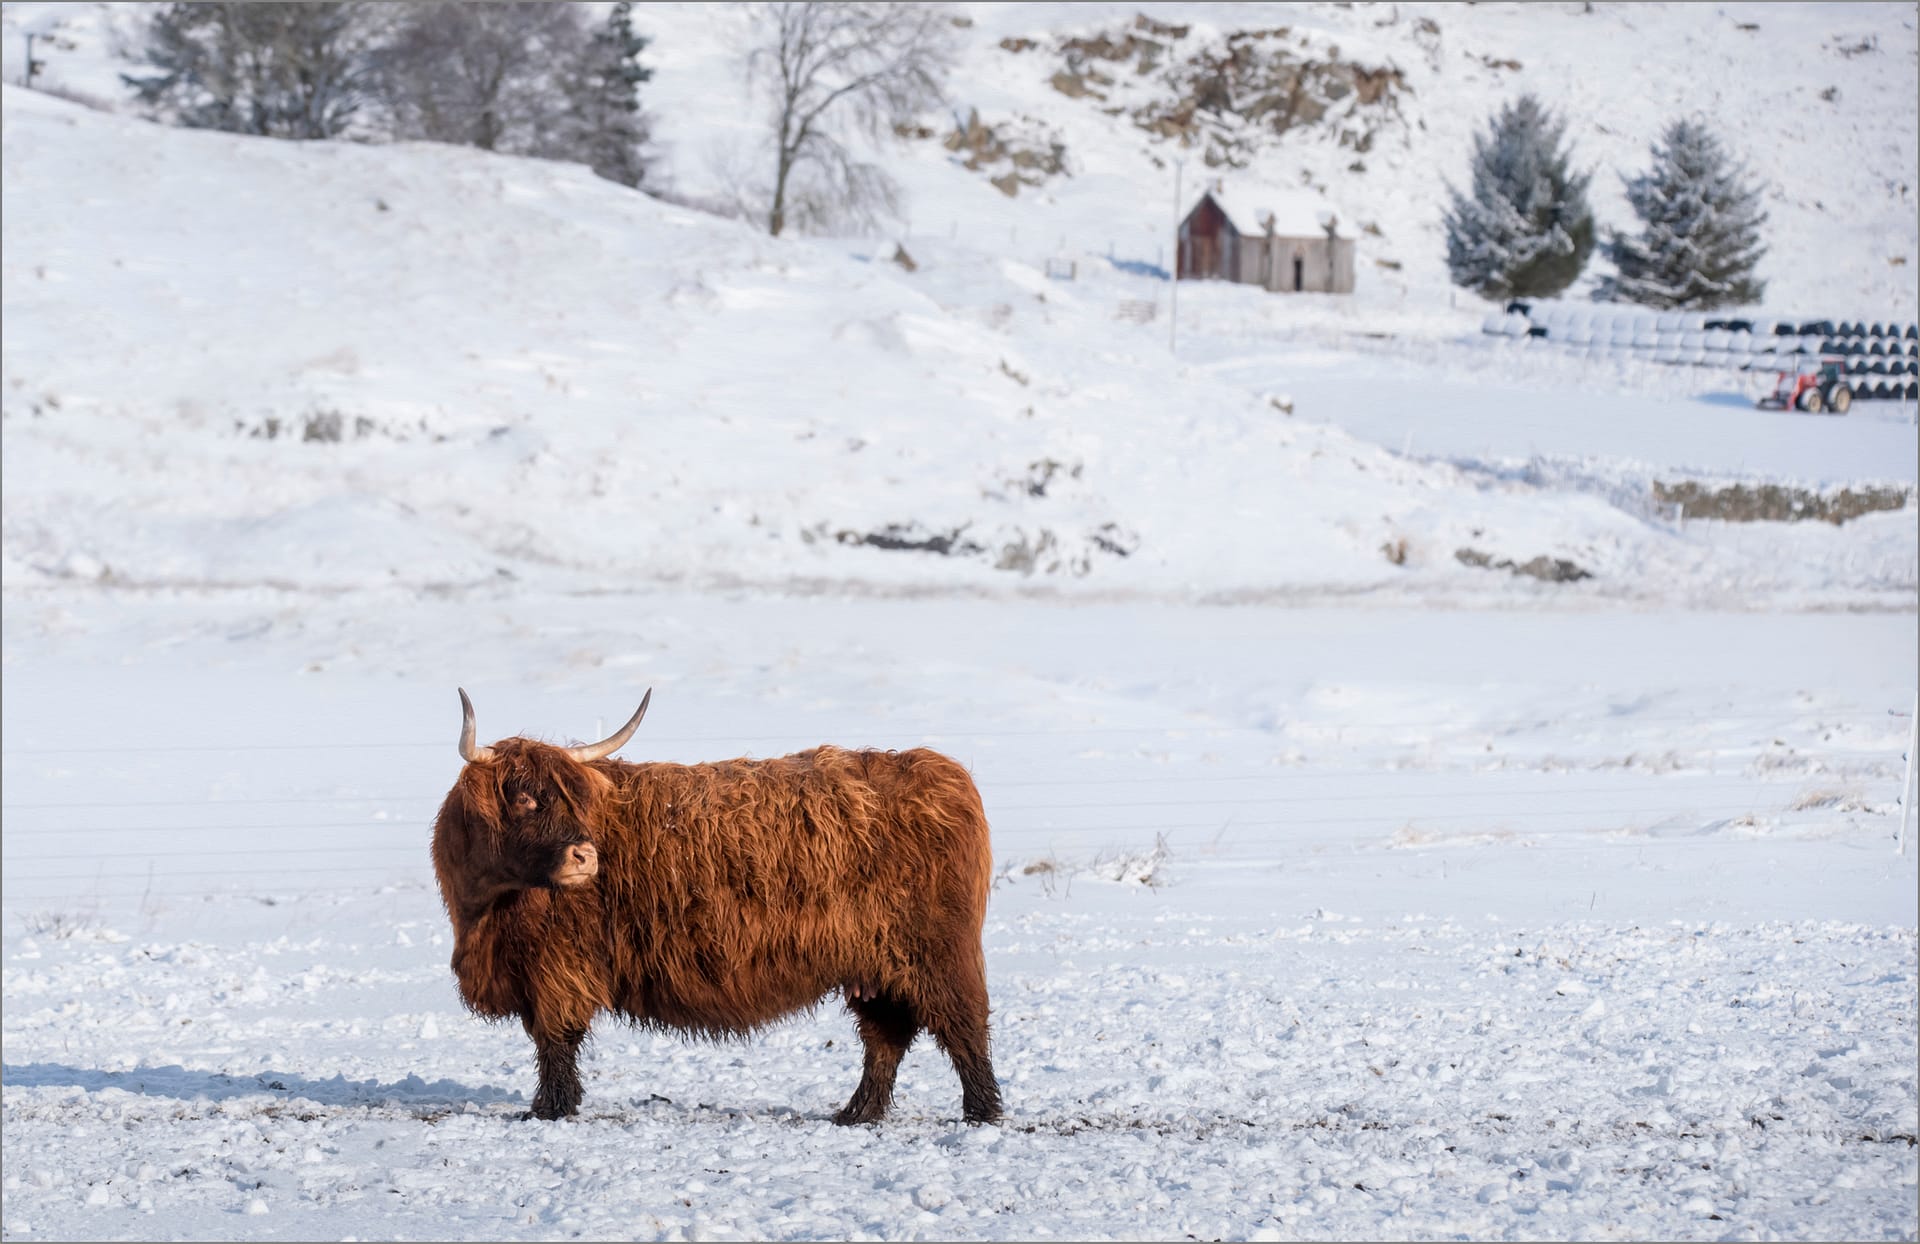
When my panel came up, I received feedback on several of my images, including one judge looking particularly at my snow images and being uncertain if there was enough detail in the snow. Another of the judges then re-examined those prints, determining that there was sufficient detail where required.
The vote took place and I was pleased to be successfully awarded my LRPS distinction.
If you are interested in undertaking your own LRPS distinction, their website and resources can be found at https://rps.org/qualifications/lrps/ and the ‘RPS Distinctions **Official Group**’ on Facebook.